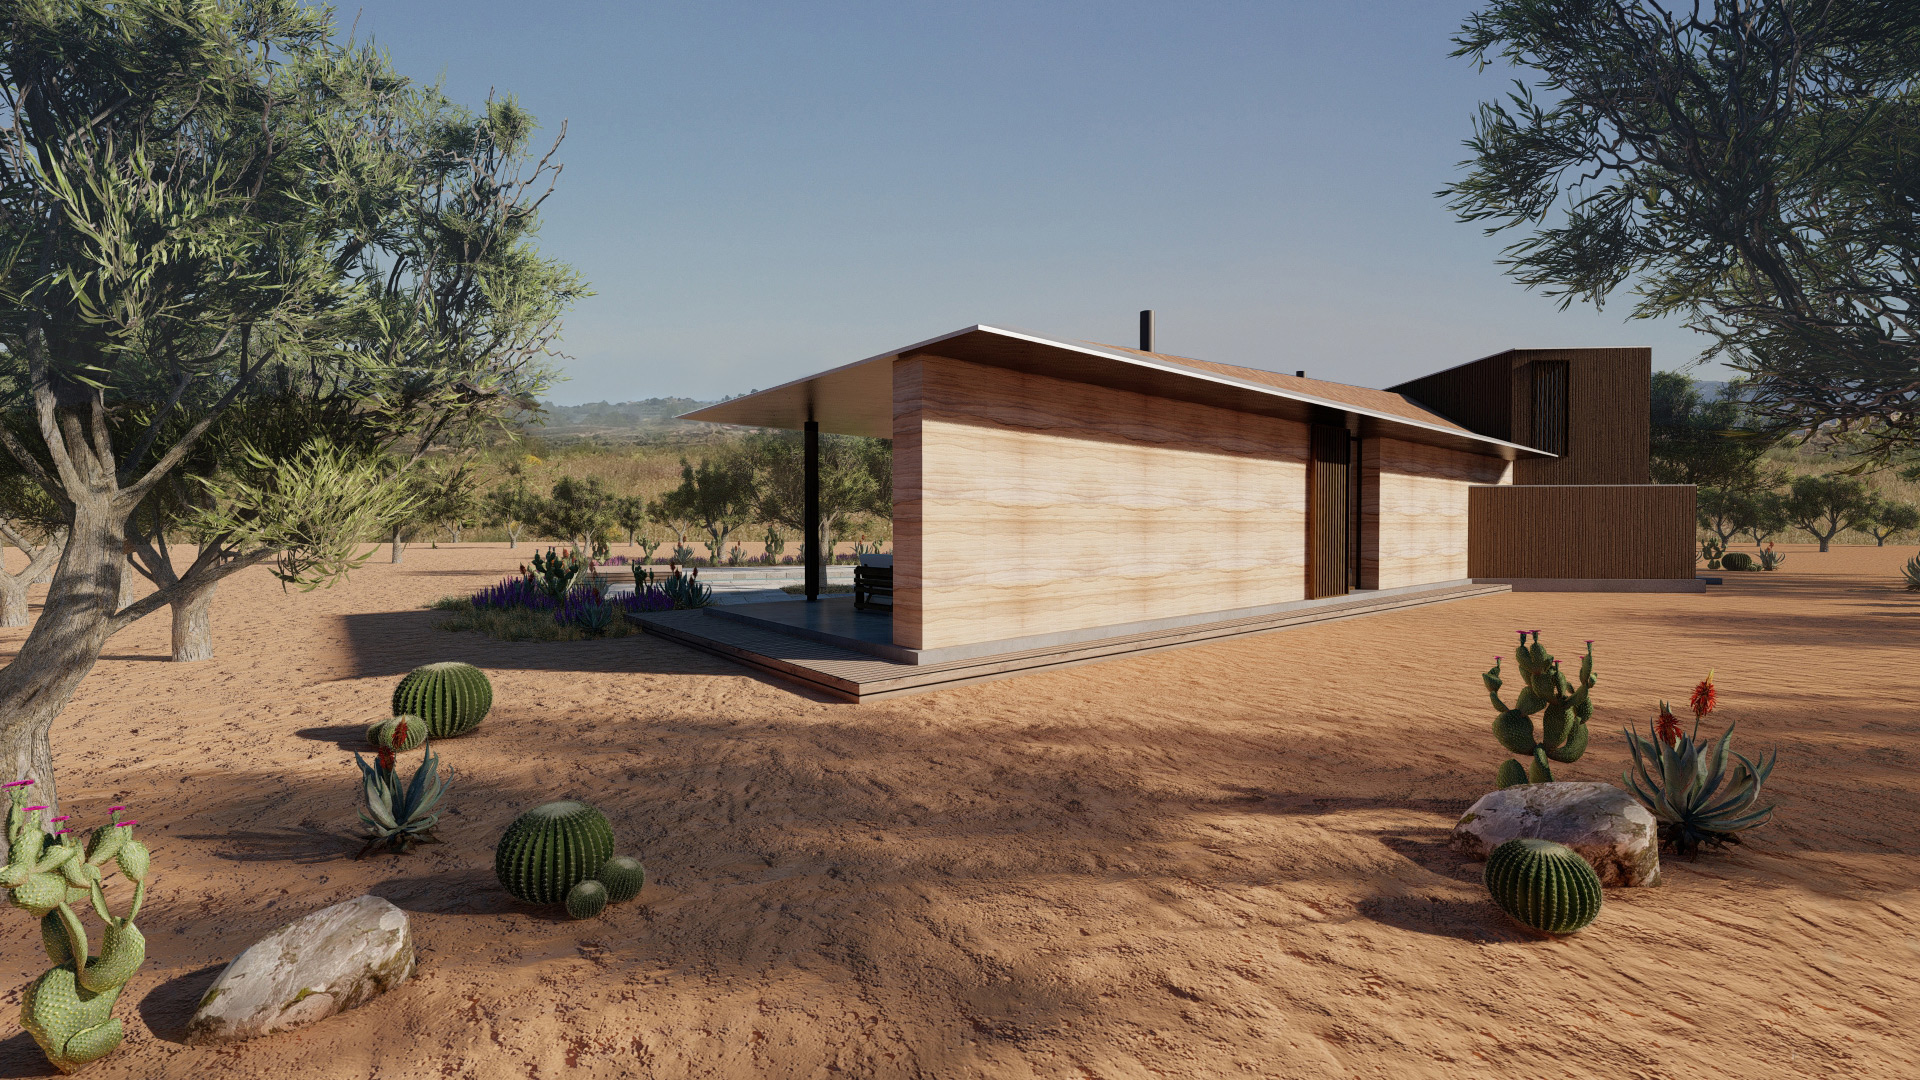
In this article we will explain how we designed and built the rammed earth wall in our Rammed Earth House.
Rammed Earth House is a detached single-family home in Spain. It was created as a result of combining the strict regulations pertaining to new buildings on undeveloped land, and the unique beauty and colors of the place.
The house is located in a beautiful natural setting. The plot is in an olive grove with views of the surrounding mountains. When we visited the place for the first time, one of the first things that caught our attention was the colours of the earth, of unparalleled beauty and tones. We immediately wanted this to be an integral part of the project. We wanted to incorporate the colors and textures into the house and make them a central and distinctive element.
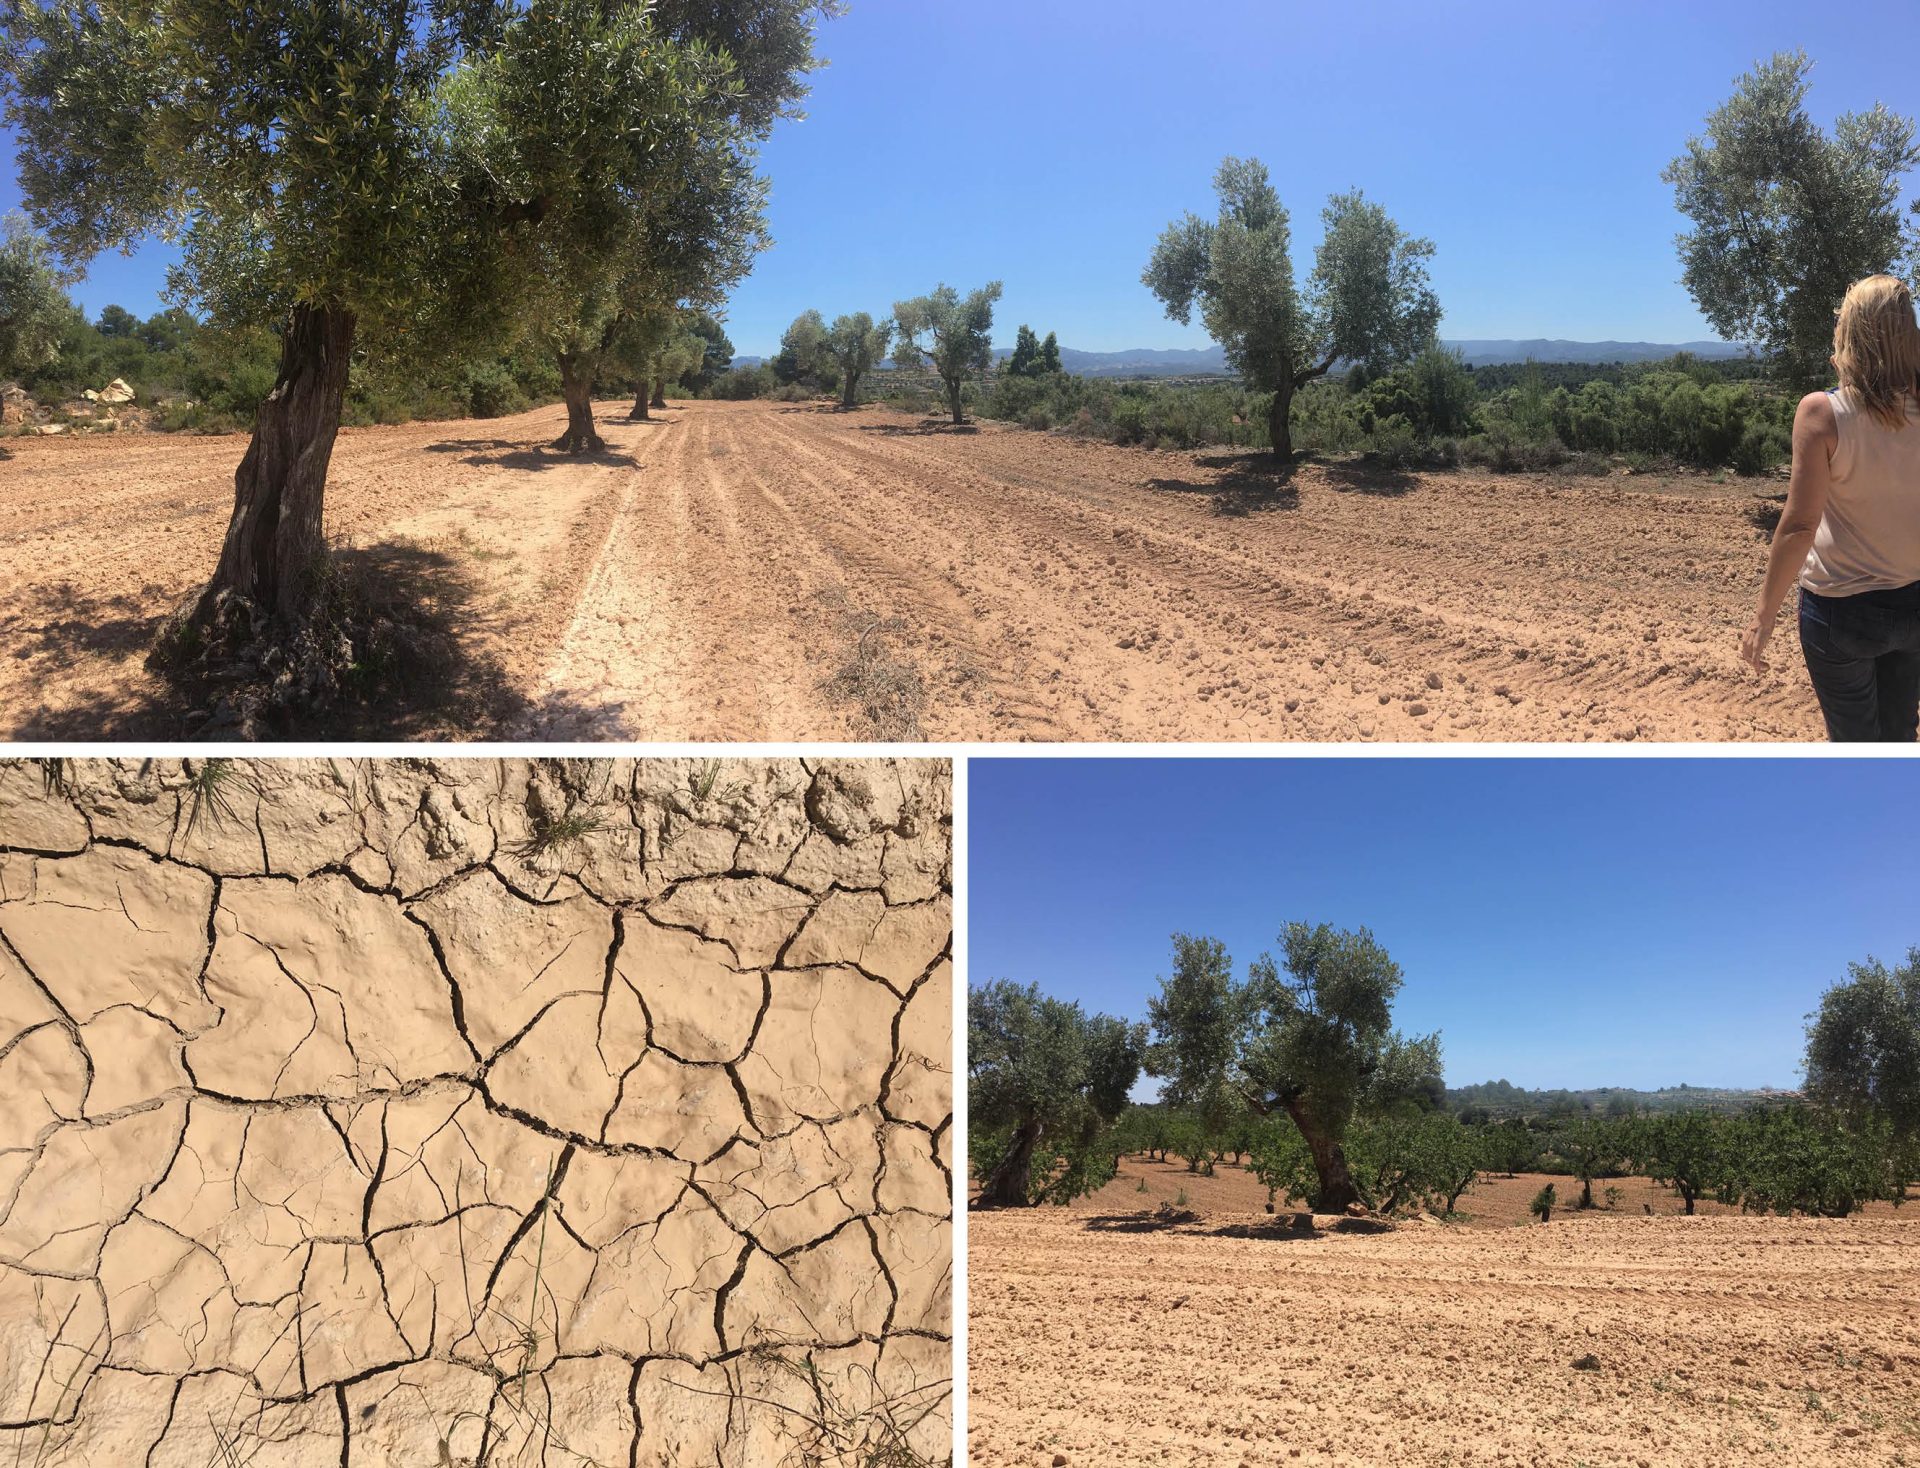
Photographs of the site, taken on the day of our first visit
The clients, who are in love with the land and with this idea, were enthusiastic about our proposal. This led us to integrate the construction of rammed earth walls into the project. The rammed earth walls act as a central element in the living area. It is also a load-bearing wall that is left uncovered and on which the roof will rest. The rammed earth welcomes us when we enter the property and the wall guides us towards the main entrance. Inside the house, it integrates the colours and texture of the land into daily life.
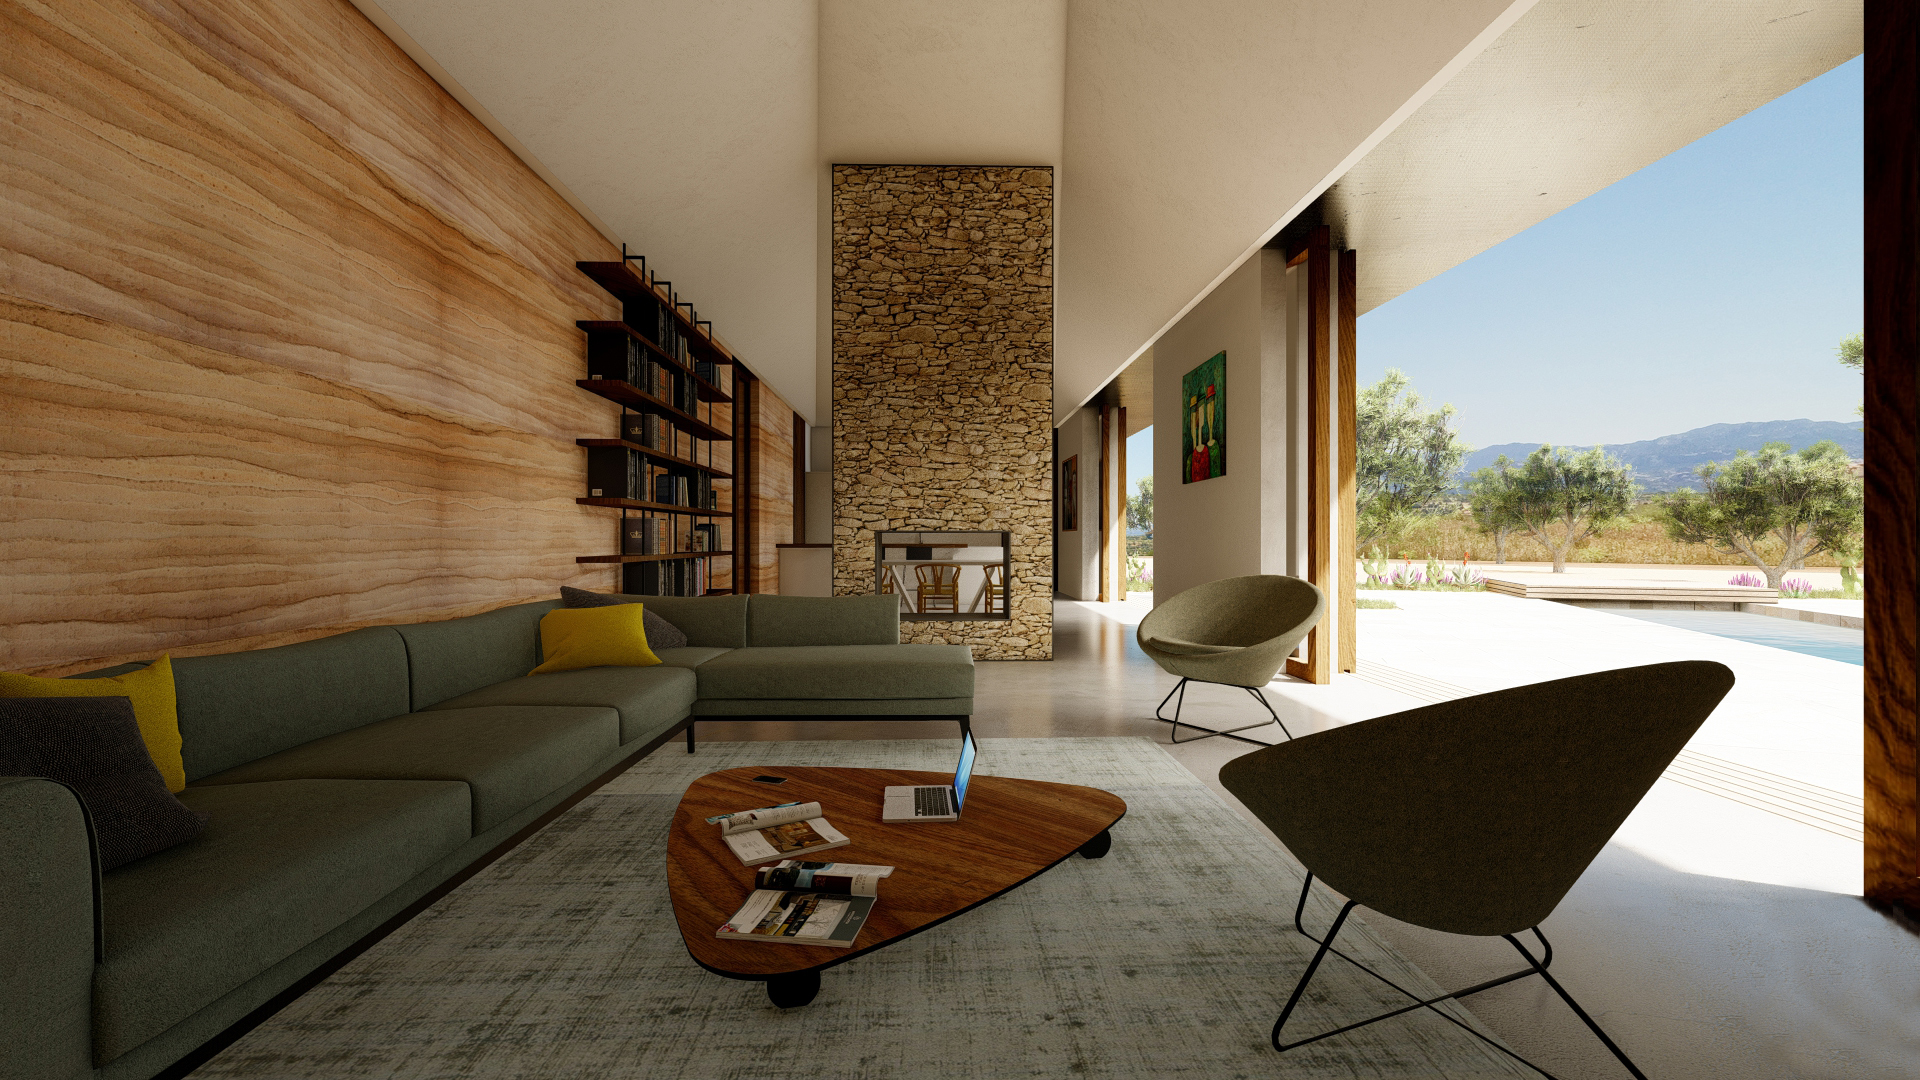
Visualisation showing the rammed earth wall inside the living areas
In the sleeping areas, the uncoated rammed earth walls are used as separating walls. They are visible both in the passage and inside the bedrooms.
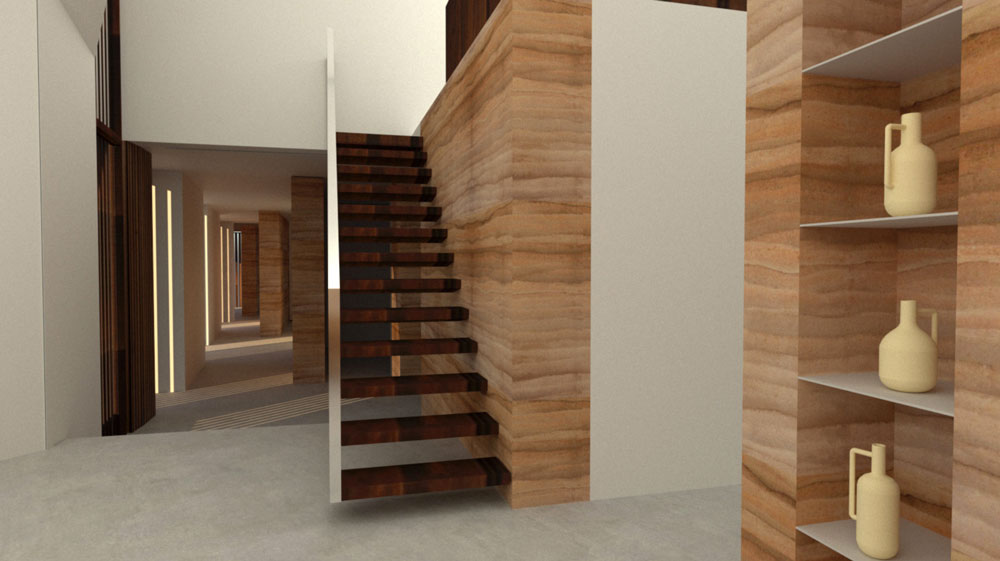
Visualisation showing rammed earth walls in the bedroom wing
Steps taken before starting to build the rammed earth wall
This ancient technique of compacting the earth required input from a specialist. For this reason, we contacted the company “Fet de Terra” to help guide us in the execution of the work. We started with a series of test excavations in different areas of the site. This was done in order to determine the varying composition of the earth strata. Two types of soil located in two different areas of the site were suitable for use: one more clayey with a reddish colour; and another of a more yellow tone.
As the wall is structural in the living areas, and must also include thermal insulation in the centre, it was especially important to analyse the structural characteristics in detail. “Fet de Terra” did various laboratory tests to establish the exact soil mixture required for the walls. Thereafter, they compiled an extensive report oulining the soil charectaristics. Once we had identified the suitable land, we began excavations. We separated the good soil from the unusable soil. Many trucks were required to collect the earth needed for the walls.
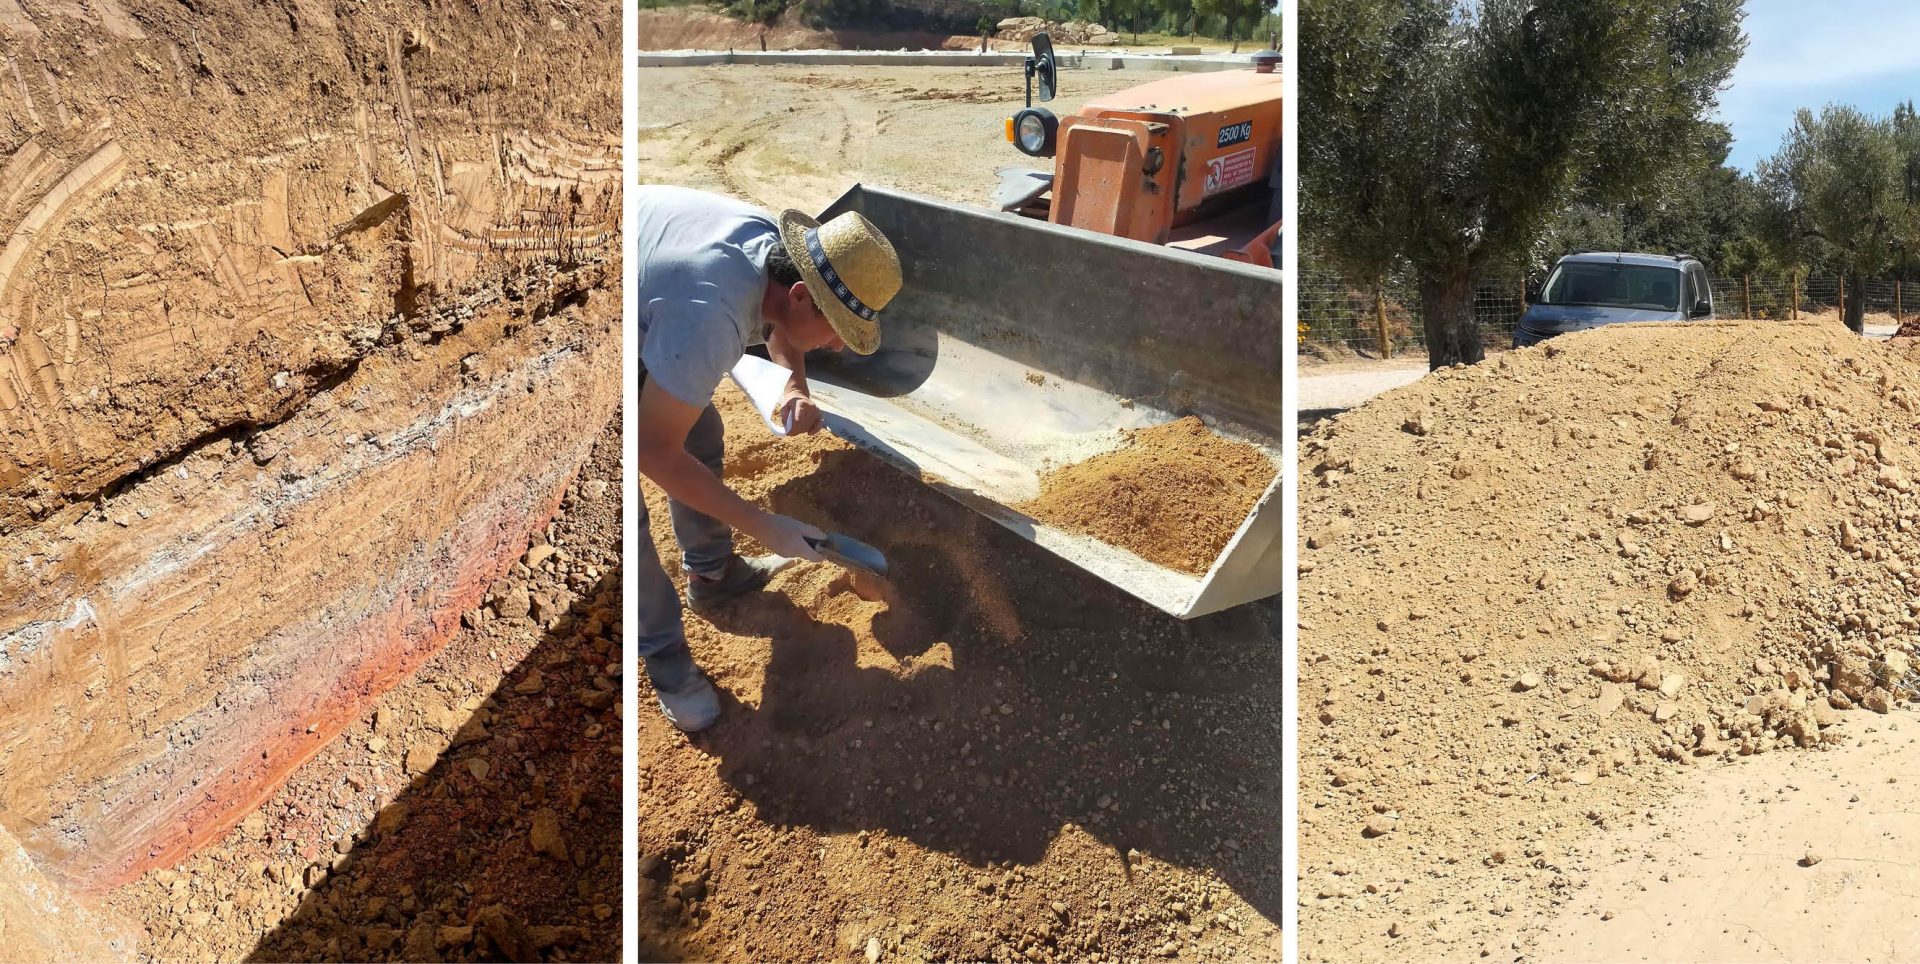
Ground test investigating terrain strata Soil selection Collection of land suitable for the rammed earth wall
The prototype
Once the suitable earth had been extracted and the composition of the mixture of local soil, lime, gravel and sand that was to make up the wall had been established, “Fet de Terra” visited the farm to develop a prototype together with the local contractor. This prototype we made was 1.2 m wide and 0.8 m high. It was not only useful to teach the contractor the correct way to execute it, but also to see how the local soil behaved when mixed with the rest of the components.
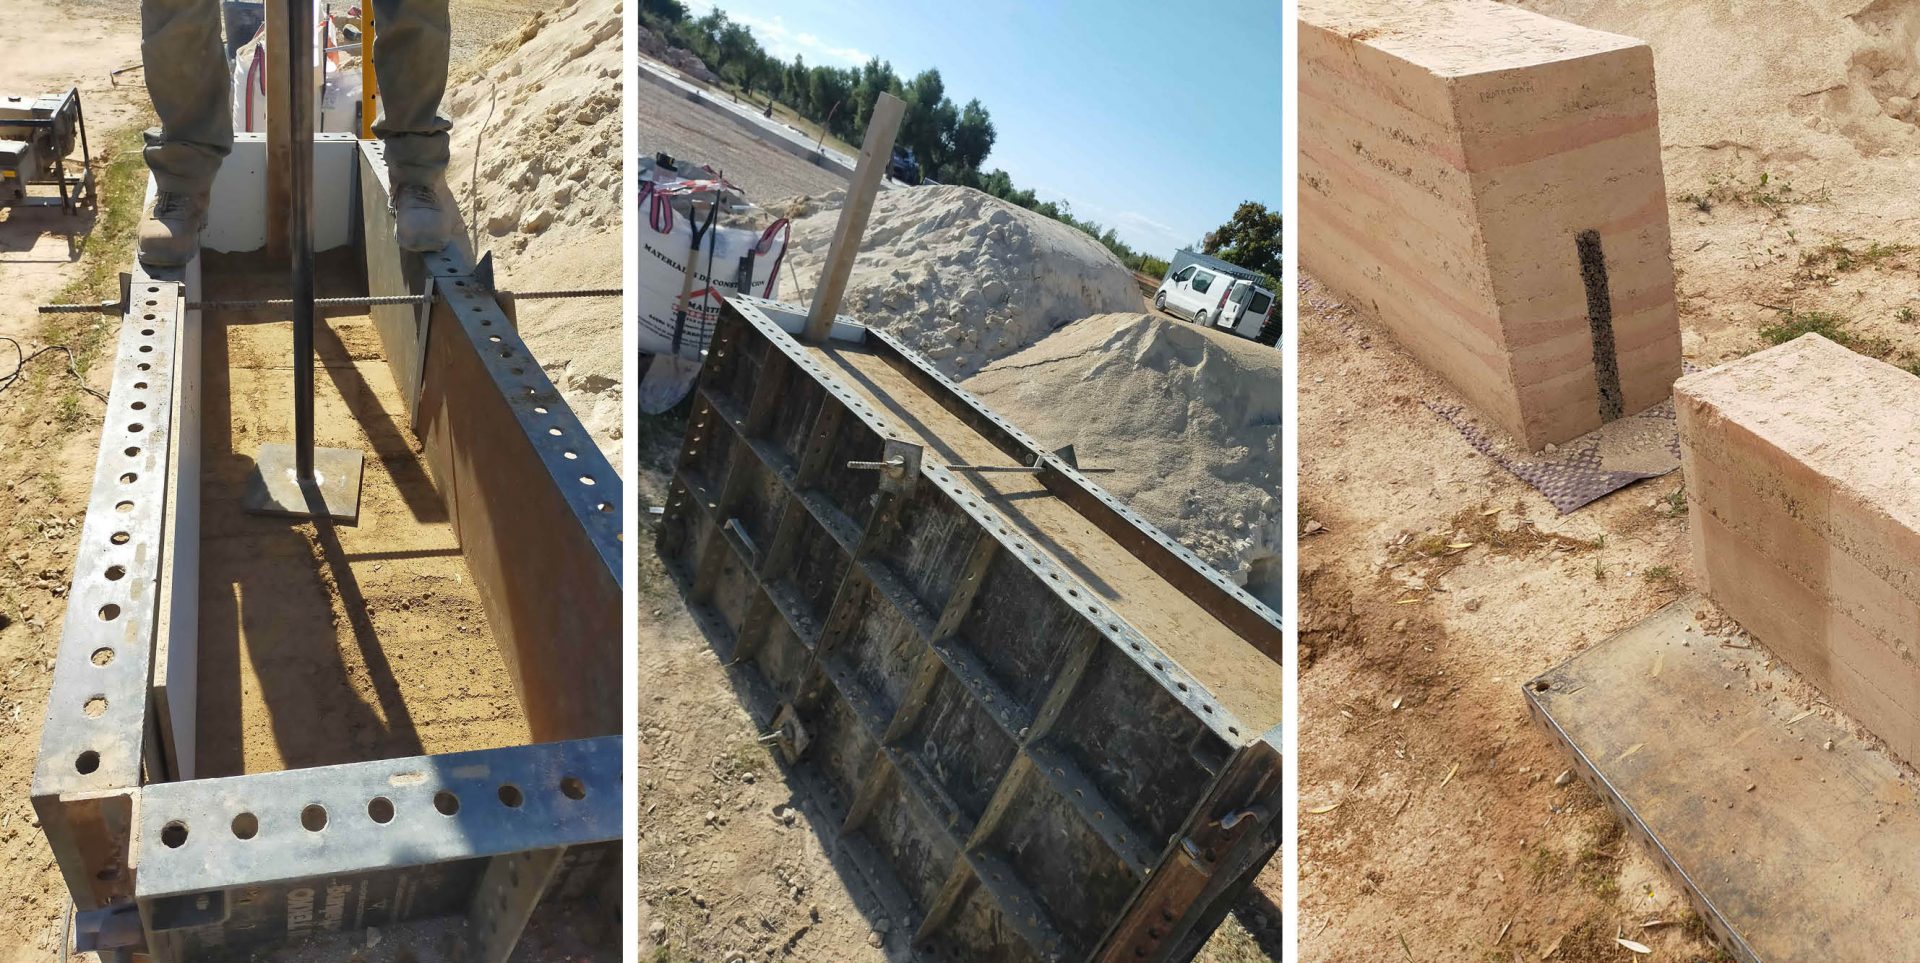
Creation of prototype
The resistance tests gave good results. However, we detected that the reddish color of one of the two types of soil (the more clayey) was lost and whitened when mixed with the lime. In order to fix this, we introduced a small amount of natural clay pigment into the mixture so that the two different tones of the earth could be seen. It was not an easy process as the first samples with a pigment added made it far too red. We had to carry out several more tests to find the right proportion of pigment.
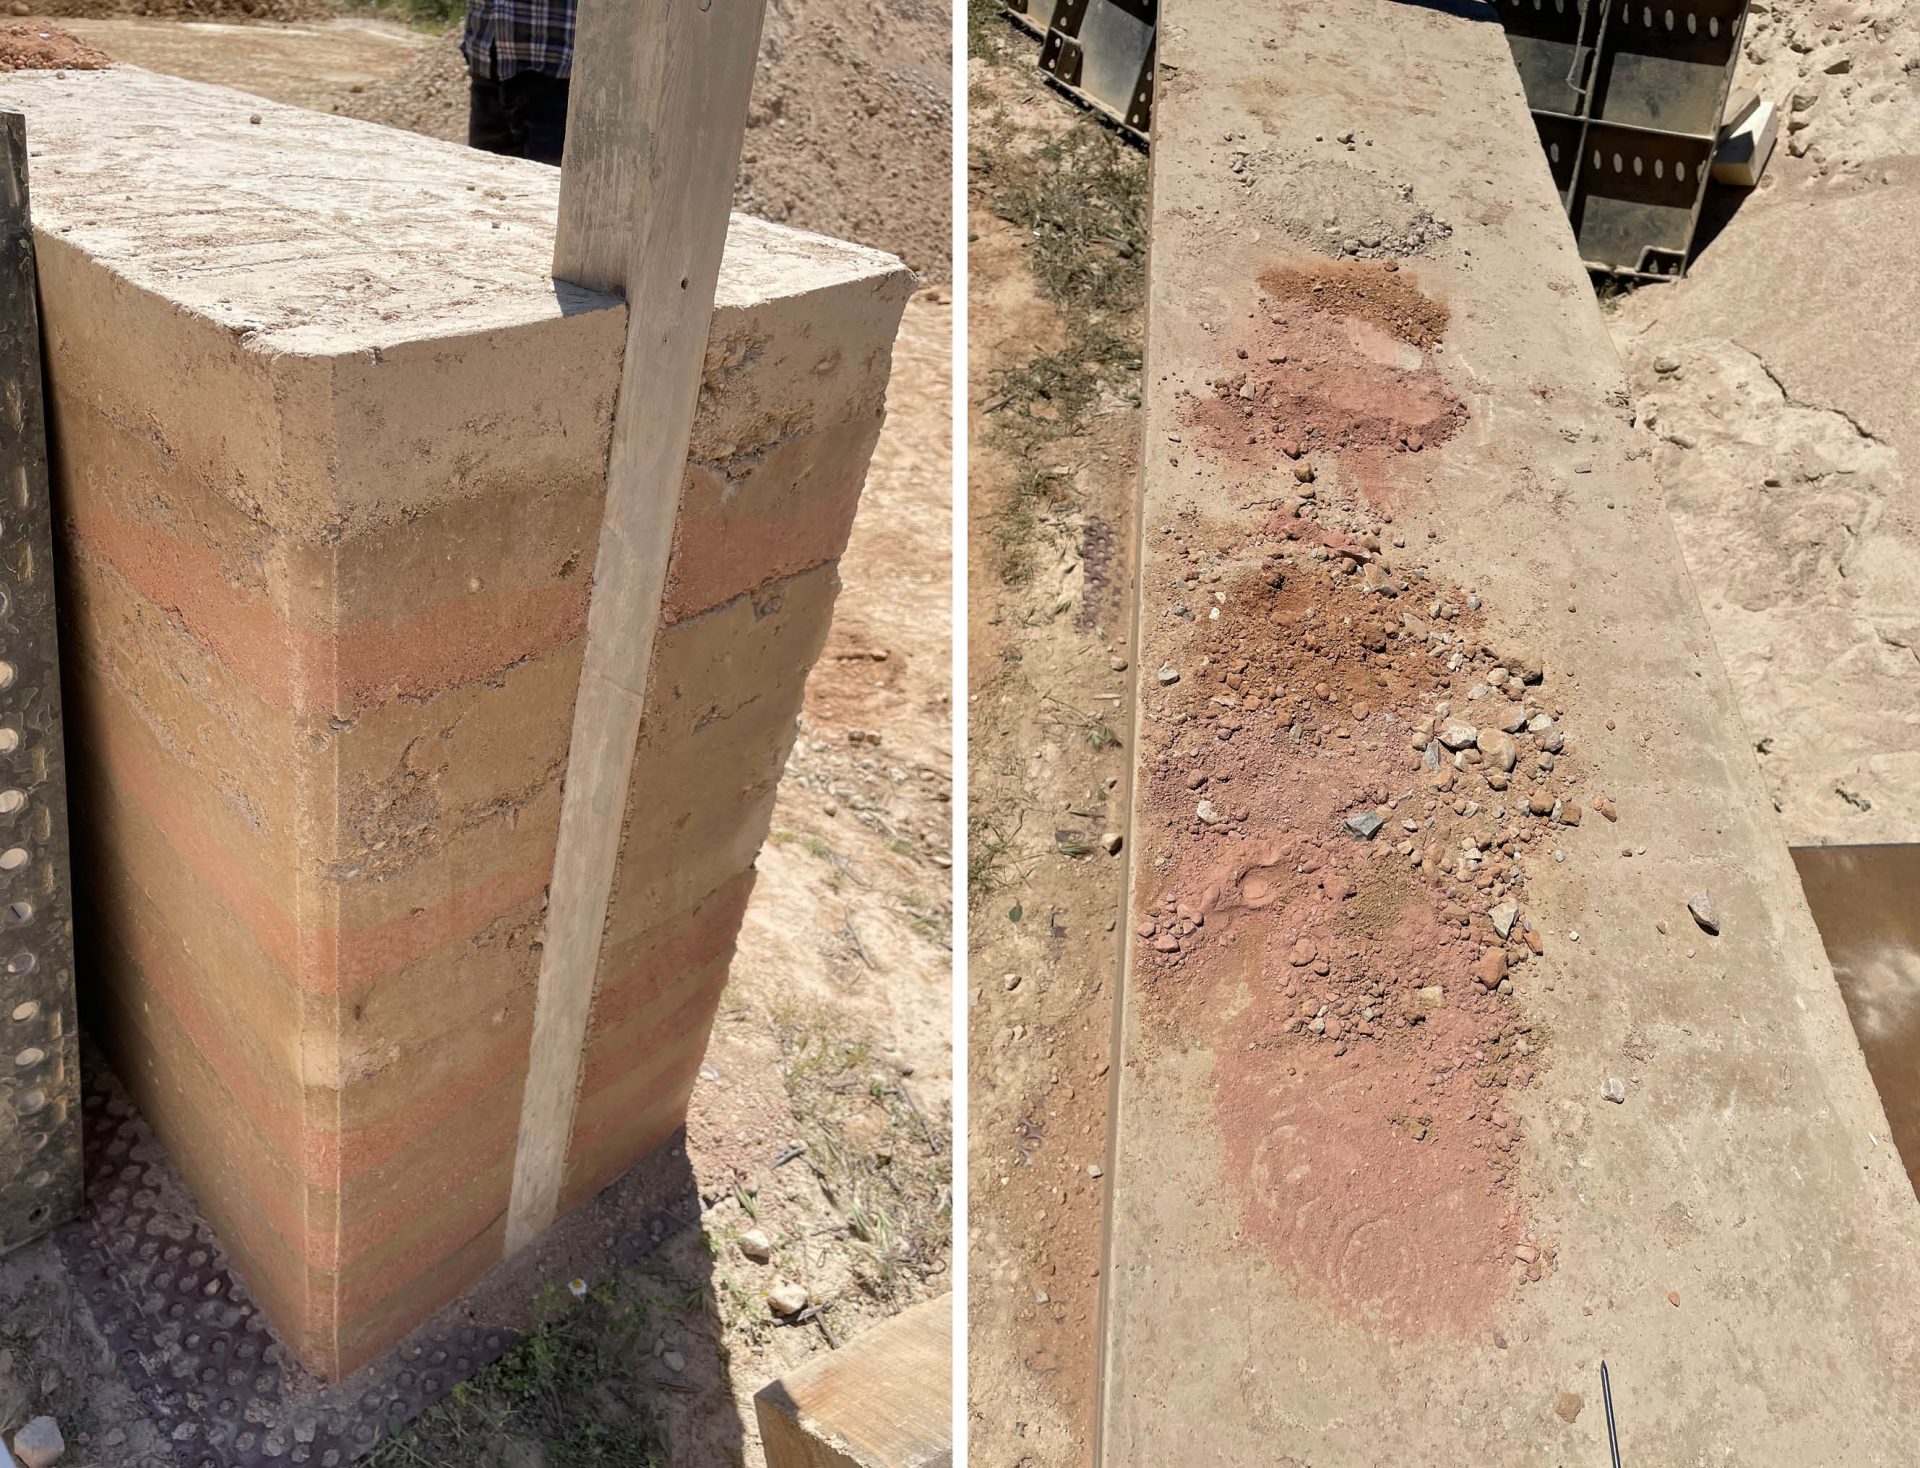
Test showing too much pigment Tests exploring pigment proportions
Meanwhile, the foundations of the house and the IPN steel profiles that will serve as the base of the rammed earth walls were being executed. 14 mm diameter steel bars, bent into 15 cm x 5 cm “L” shapes, are welded every 50 cm to the profiles. These bars will be set in concrete and, therefore, serve to connect the profiles and give structural strength.
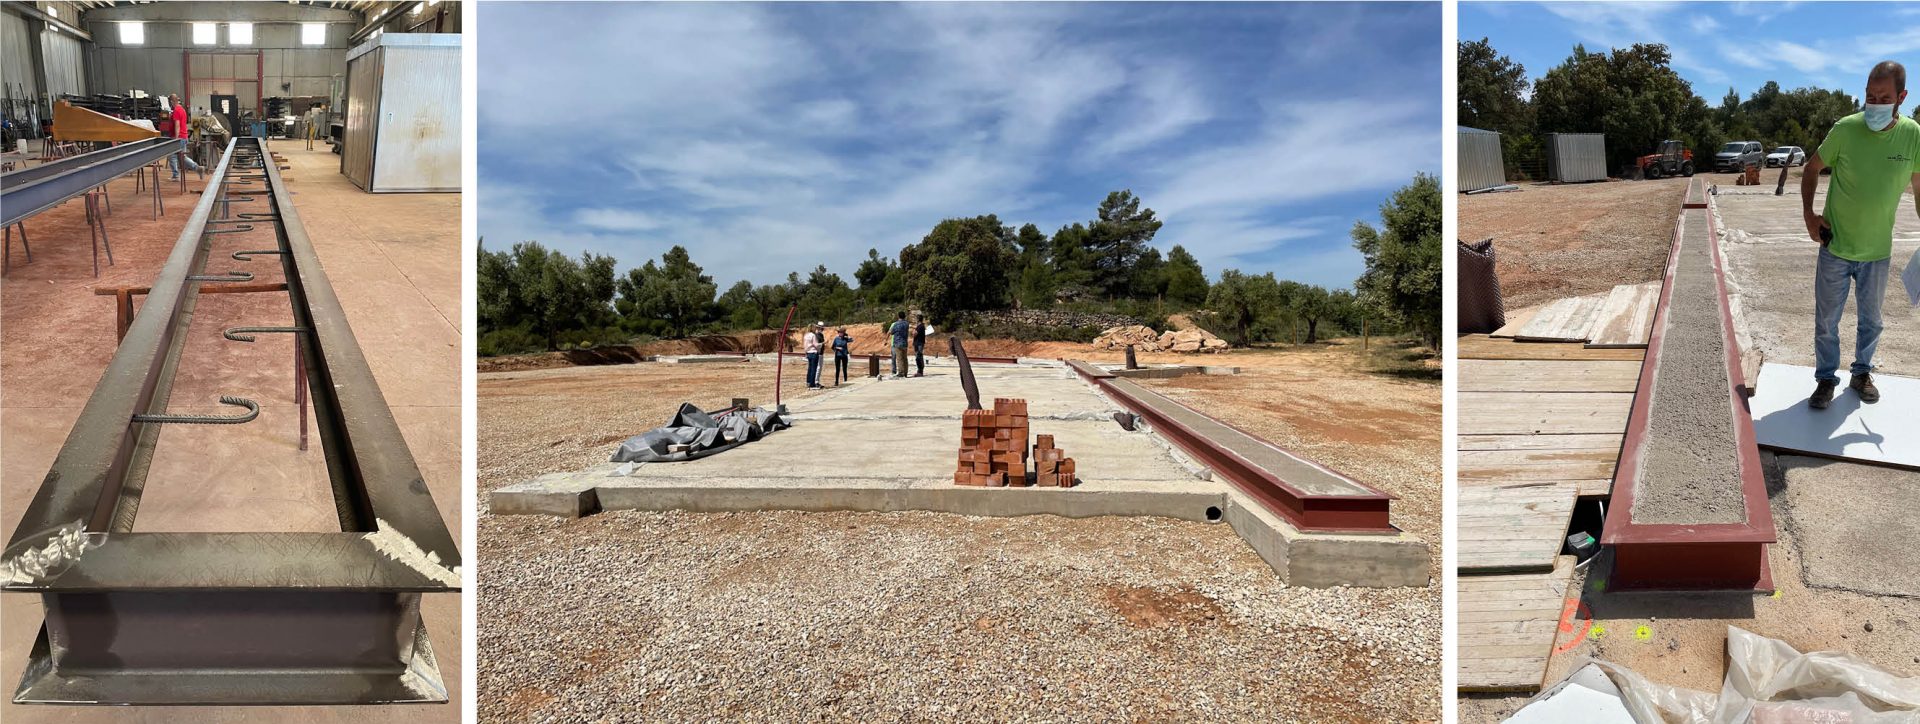
Preparation of the IPN Steel profiles in the factory Concrete foundation with the IPN base profiles set above
The preparation
Before starting on the wall of the house, we decided, together with the contractor, how to cut up the planks for the formwork. We made the decision according to the available plank dimensions and the desired visual effect created by the boards. Meanwhile the contractor, very committed to the challenge of building this wall, investigated the most efficient way to comapact the earth. He searched for tools that could help him and found that a hydraulic compactor was the best tool for the job.
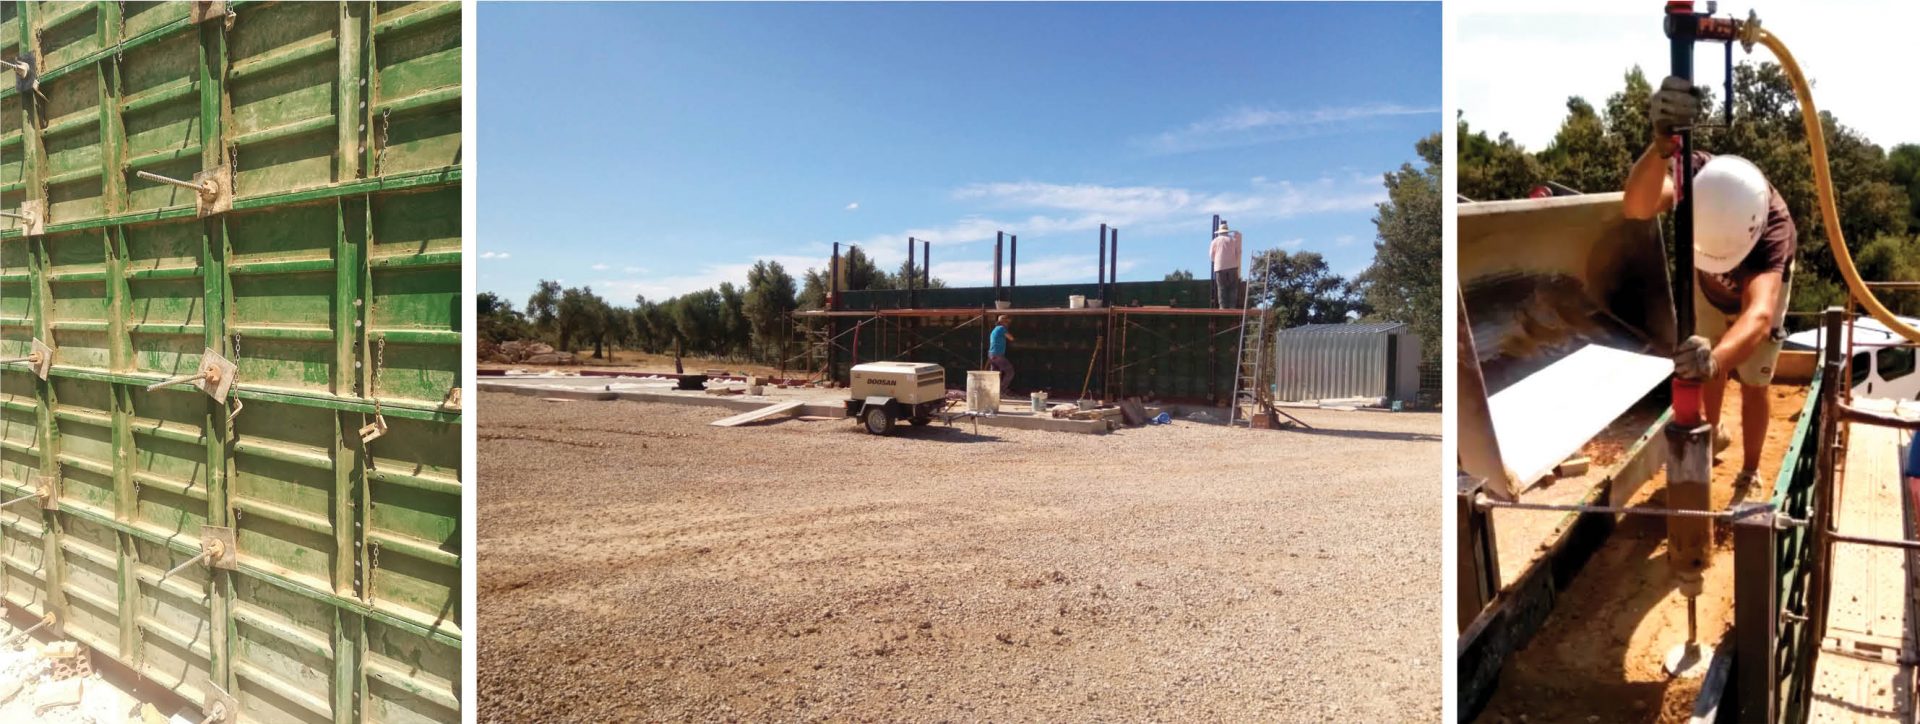
Formwork of the first section of wall Hydraulic compactor underway
The execution
The execution of the rammed earth wall began with the most complex wall: that of the living area. This wall is 3.30 m high and serves as both the façade and the load-bearing wall that supports the roof. It is made up of two 25 cm rammed earth wall leaves, joined together with connection bars. The wall has a 6 cm thick cork thermal insulation layer between the two rammed earth leaves, thus giving a total thickness of 55 cm.
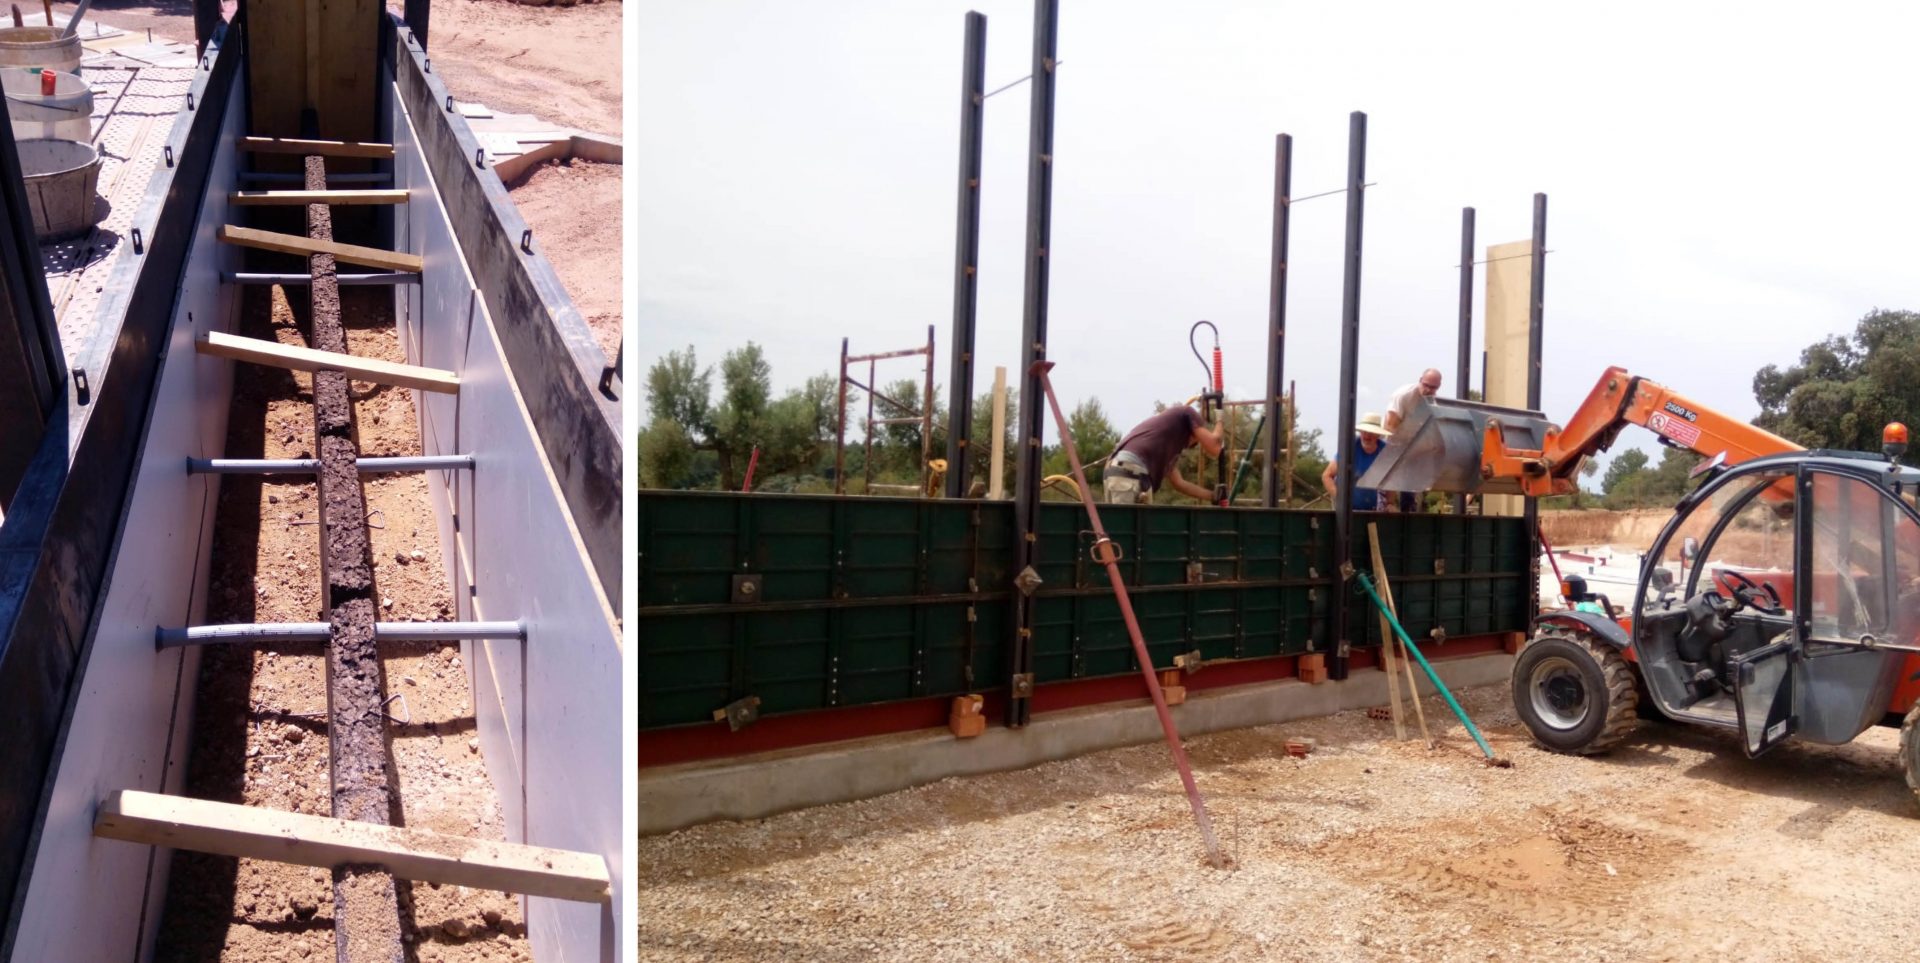
Execution of the first section of the structural wall in the living area
The first section of this wall, 10.5 m long, required four days to place the formwork and two more weeks to compact the earth. We then stripped the formwork and the result was spectacular. It was the result of careful planning and careful execution.
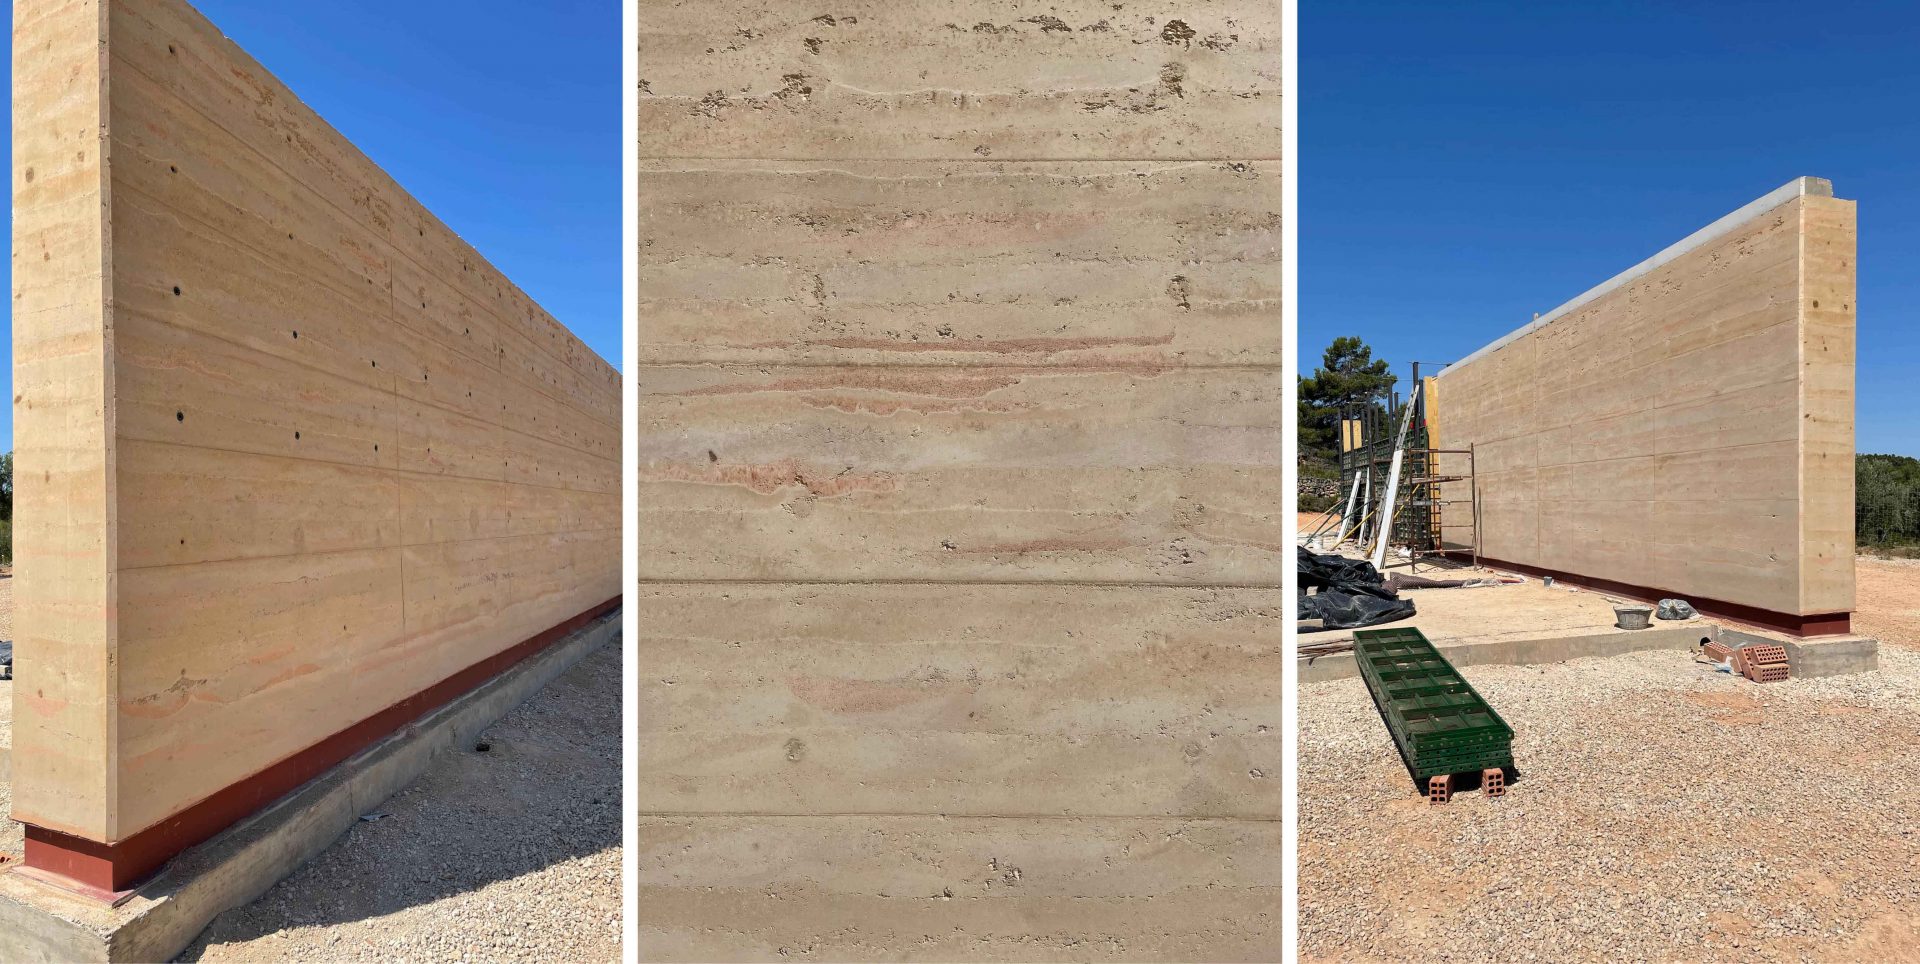
First section of rammed earth wall completed
The second section of wall in the living area is currently under construction and is estimated to take two weeks to complete. The four sections of interior wall that will be built after finishing the wall in the living area are interior walls that are not load-bearing. They, therefore, do not require thermal insulation and so are only 30cm thick. We estimate that it will take a week to execute each of these interior walls. This means it will take us a total of 2 months to execute all the rammed earth walls of the house. Just in time to place the wooden structure that will arrive when they are finished.
Details of the execution
If you watch the video below, you will understand why the construction of rammed earth walls takes so much time. The construction of rammed earth walls is a completely manual and very difficult process.
The finishing
Once all the walls are finished, we need to apply a sealant in order to prevent earth from coming off when touching the wall. This will slightly intensify the tone and give a “wet” effect. We are currently in the product research phase. Two of the products tested so far are not satisfactory. One of them creates a film with a very plastic feel that makes the natural feel of the earth disappear and the other does not create the wet effect we are looking for.

Formwork of the second section of wall in the living area Test showing unsatisfactory plastic texture finish
Watch this space to see how the project develops!

