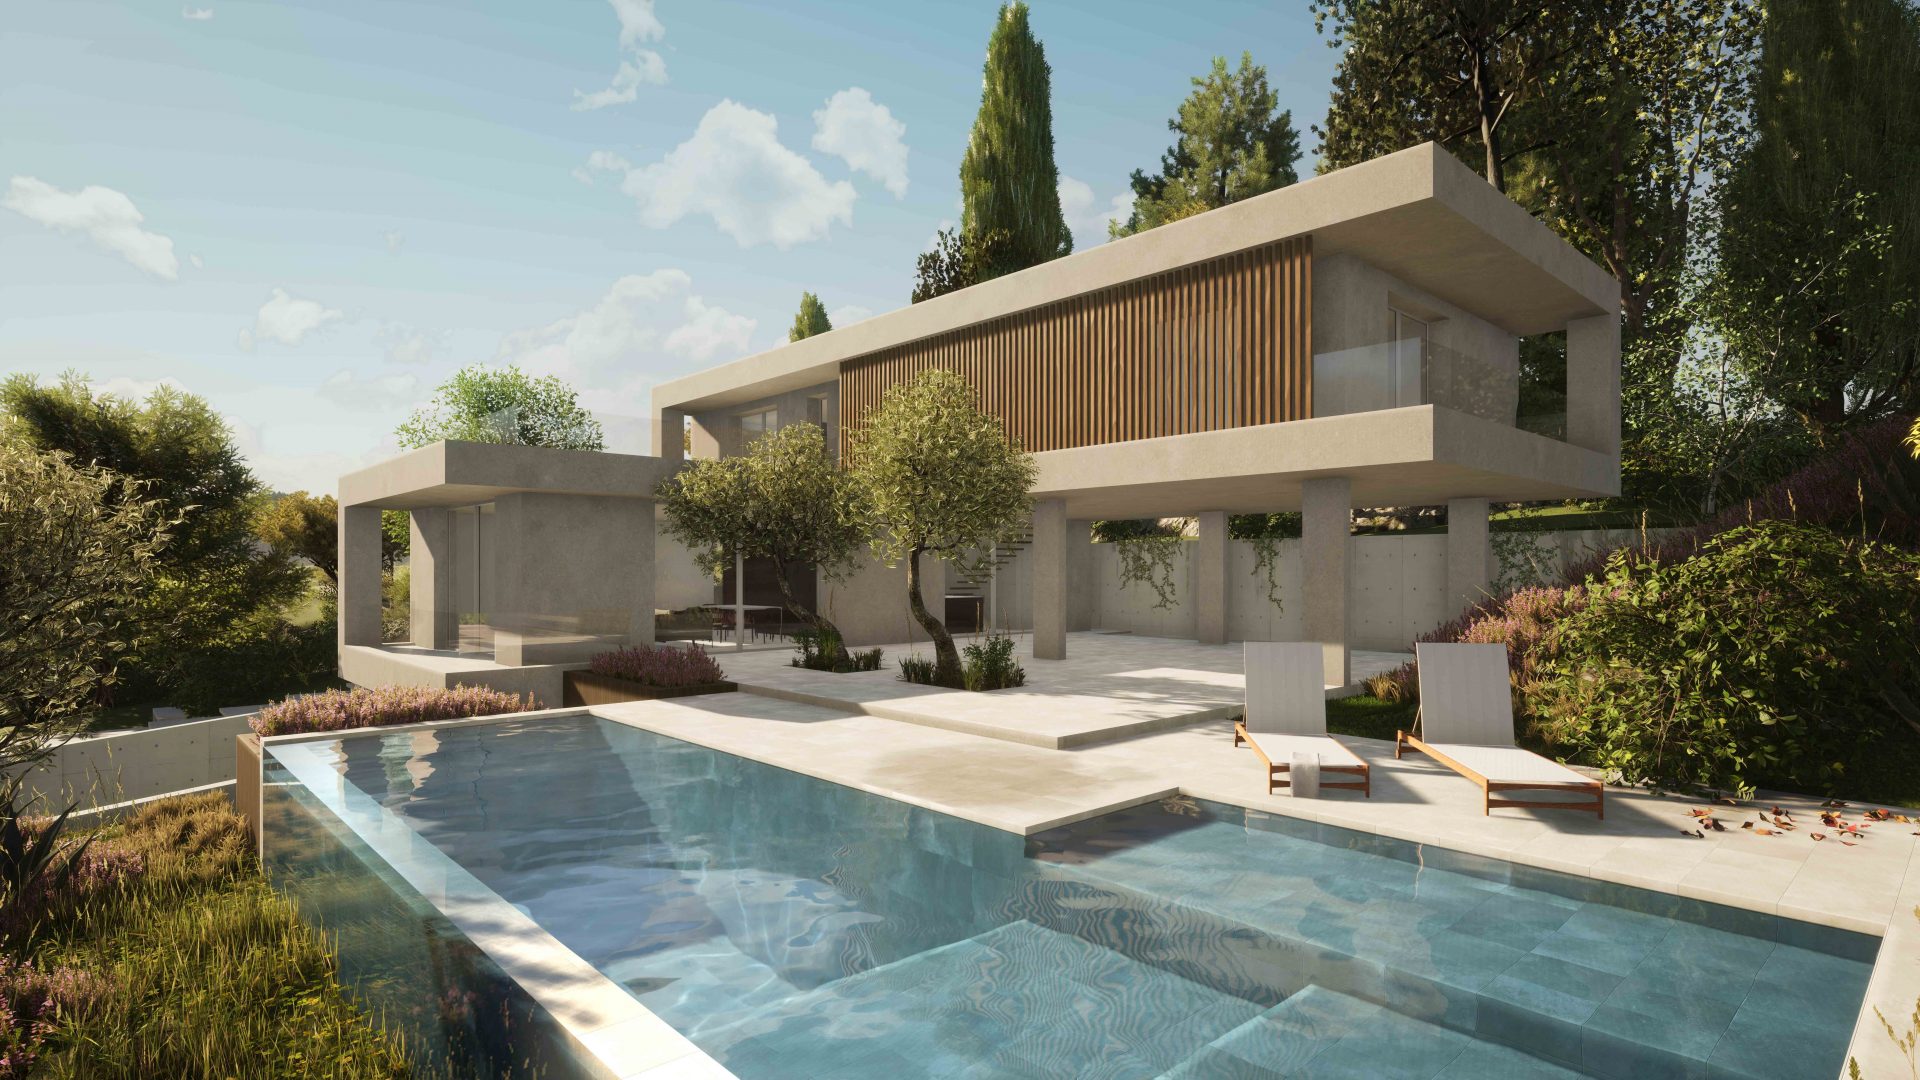
Are you thinking about building a house in Spain and filled with questions? You’ve come to the right place. ZEST architecture is an award winning architecture studio that has helped many before you build a beautiful villa or renovate an old stone property. We work all over Spain, as well as on the Balearic Islands, in Portugal and even Amsterdam! To help you get started, we have an excellent planning guide that gives you priceless information about the process of building a house in Spain. You will find a download form at the bottom of this page. Or read on if you want a short summary of some of the important issues that you will face. Don’t be scared, because we aim to be your trusted partner along the way! Building a house is supposed to be fun, and we make sure it is so.
The building process is comprised of a series of stages that you need to go through step by step. Don’t skip steps if you want to get to a well designed and constructed result.
Step 1: research
What do you want to build?
The very first thing you need to figure out before you embark on this journey, is what you want to build. Do you want to have a new stylish villa, a humble abode, an old ruin turned into a comfortable house? Obviously you are talking to your partner or spouse about your plans, as well as close friends. But also start paying attention to other people’s homes, and perhaps spend time looking at magazines. This step is all about information gathering.
How much can you afford to spend?
The other important part of your research has to do with your finances. Only you can figure out what you could safely spend, and you need to do this first. Look at your finances, but also have a chat with your bank. Many Spanish banks have special mortgages for “auto promoción”, which is the word for developing your own home.

Step 2: Find a plot or property
You may already have bought a piece of land, or a property to refurbish, or you may not have decided which to go for. It is important to be aware of the following. If you refurbish a property, the state of the building will determine what you end up spending. It may be possible to convert this house into your dream home, but you will need to look at it with an architect. At ZEST architecture we can visit the building with you and clarify what is possible, and at what cost.
Are you more inclined to build a house in Spain from scratch, then you will need to find a plot. Sites like Idealista and Habitaclia are useful for finding buildable land and properties for sale. Land prices vary, but the market mechanism works quite well in real estate. Which means that a cheaper plot is cheaper for a reason. Plots with a steep incline are always cheaper than flat ones, and those with sea views come at a premium.
People often underestimate the complexity of building on a slope, so read our very useful blog post about this before you make an offer (click here). In any case, at ZEST we are always happy to help you assess which is the most suitable plot for you. We have helped many clients purchase their terrain. Do make sure you obtain a certificado urbanístico for the plot. This document outlines exactly what can be built on the plot and can easily be obtained by the current owner.
Step 3: Hire an architect
Hiring an architect may be slightly daunting, but it is one of the most important decisions in the process. A good architect will be your trusted partner throughout, and will convert your vague wishes into concrete designs. Look for an architect who is willing to listen to you, something which is not a given unfortunately. Speaking the same language is of the utmost importance, because communication is everything. Not only does your architect need to understand thoroughly what it is you have in your head. But he or she also needs to be able to communicate their ideas to you in return. Good architects have a trusted process, so you will need to ask about their work method and documentation flow.
In our Planning Guide, you will find a list of questions to ask your architect to establish if they are the right fit for you. We recommend you ask the architect to do a feasibility study for you. This means you will get a quick idea of their style of working. At the same time you will have an overview of what’s possible on your terrain as well as a preliminary idea of the building costs.
What does an architect cost?
Architects’ fees are a percentage over the building costs excluding profit. This is called the Presupuesto de Ejecución Material in Spanish (click here to see this explained in detail in our blog post). But do take note of the fact that this percentage is different for each architect. So you should keep as a general rule that if the fee is low, less work will be done. No one wants to work for free, right? Will this lead to a bad design? Not necessarily. Will all details be executed perfectly by the builder? Maybe not, if the documentation from the architect was not detailed enough.
In any case, if you save too much on the architect, you will almost certainly have less of an idea of what your finished house will look like. This may lead to nasty surprises, both in building costs and in quality. Therefore, we urge you to discuss everything in detail with the architect including what services they offer and what’s included in the fee. That way, you will be able to choose the level of cost and detail that suits you and suits your budget.
Step 4: Obtaining planning permission
Once you’ve hired an architect, they will start converting the ideas discussed in the feasibility study into drawings, models and images. A good architect will use the preliminary design phase to explore all possible ways to resolve the design question. This means that different options will be presented to you. There are a surprising number of ways in which the same design problem can be resolved. A good architect will also know how and where to save money, without compromising the quality of the design.
The role of the Anteproyecto
Once the design has taken a clear shape, the architect can present the preliminary design to the town hall. It is good to do this long before you actually file for planning permission. In this way, the town architect can indicate if there are any issues with the design. Better to do this before the architect start the work of creating all the documentation for the building permit. Once the municipality give their ok to the preliminary design (Anteproyecto), the architect will request planning permission.
Step 5: Preparation of the construction documents
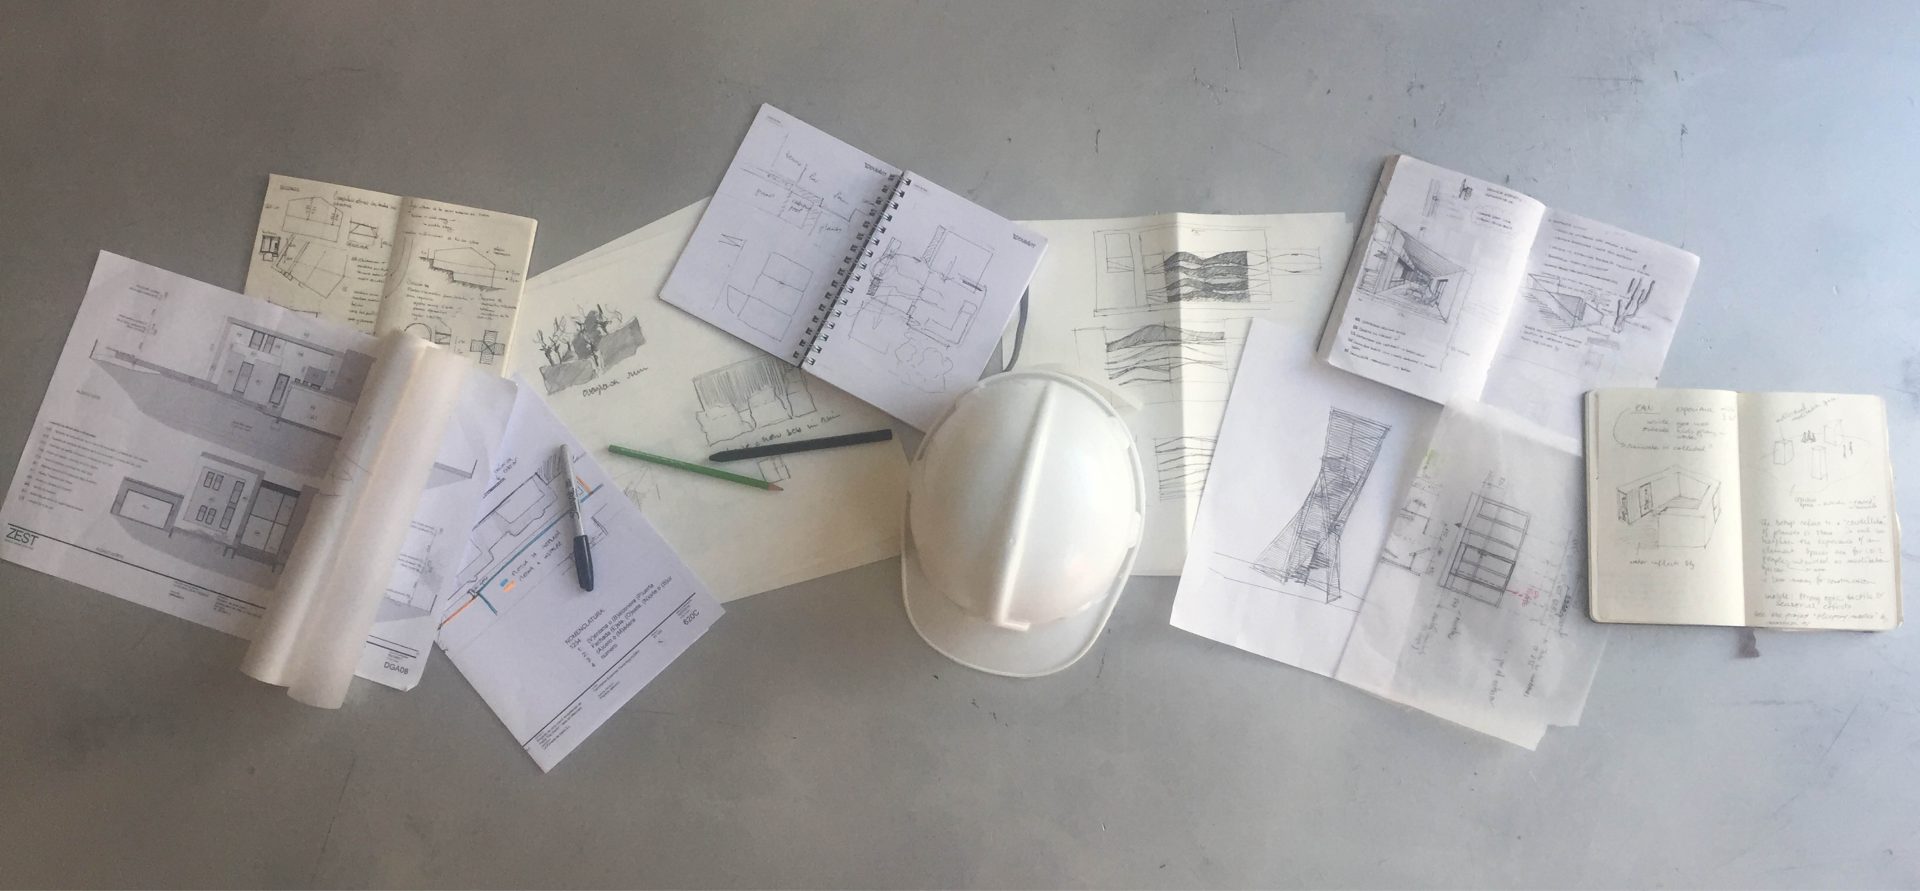
Spanish bureaucracy is impressive, so it will take a while before you have the licence. But if you choose the right architect, that time can be used to improve the project. The level of detail needed for planning permission and that needed to build your house, is very different. The architect will now do detailed work on the construction details and the interior. This all depends on the type of architect you choose (see Step 3, above). The more details he/she works out, the more information is included in the construction price. This prevents surprises during the building phase.
Will I need to go shopping for tiles and taps?
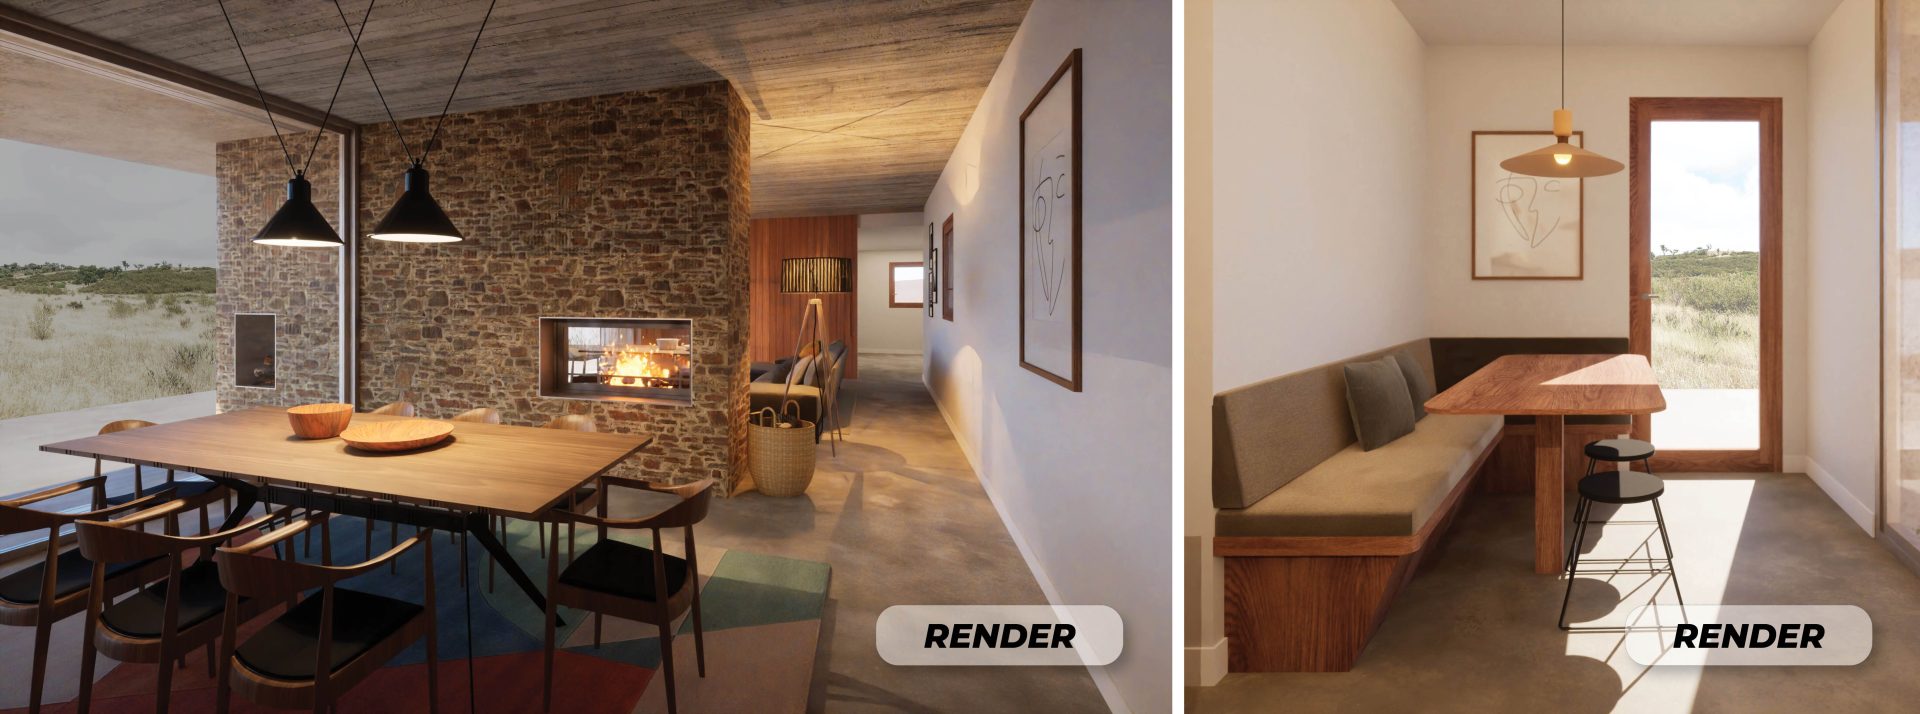
There’s a lot of work involved in selecting the exact materials to be used for your house. Who will do all this work depends on who you’ve chosen to work with. It may entail endless visits to showrooms, while the best of those are not always open to private clients. At ZEST architecture we are used to making life easy for our clients. We know all the best suppliers and materials, and suppliers ship the samples directly to our offices. This means you can see all the materials next to each other. In this phase we also include high quality visuals. Not every architect will provide such visuals, so beware. We find this helps you take decisions on the exact finishes for the house. And as a result, your finished house will look like the images you’ve approved. But better, obviously.
Below are examples of so-called photorealistic renderings, showing a project in the planning phase.

What documentation do I need?
For a proper complete project, ready to be built, you need a vast number of detailed documents. The most important ones are:
- plans and sections to scale 1/50;
- construction details to scale 1/5;
- 3-D visuals (if the architect has made any);
- extensive description of the building, including the desired qualities and materials;
- documentation on site safety during the build;
- a bill of quantities detailing exact amounts and types of materials.
Step 6: Hire a contractor
In order to select a contractor there are 2 different routes to take. The project can go out to tender, or you choose a builder early on.
Going out to tender
With the detailed documentation prepared during step 5, you can tender the project. This means you give different contractors the chance to put a price to the complete project. The advantage of that is the possibility of comparing the price of different builders. It takes a while for all the builders to prepare their price. This is because the bill of quantities is a very long and detailed list. And every one of those items needs a price.
Choosing a builder early on
The other option for hiring a contractor is choosing one early on. Why would you want to do this? Well, actually we find that if the bill of quantities is detailed, the differences in cost between contractors is small. And it saves a lot of time to choose one and work together with them towards an acceptable price. The tender phase can take up to 4 months to complete, so if timing is important, this is a good solution.
Signing the contract
Whatever you decide to do, the contract you sign with the contractor will include the bill of quantities. And the contractor will not be able to make changes to the unit prices they’ve quoted. Does this mean you can not change anything anymore after this? No, it means that if you change something, the already quoted prices apply. The contract will include a guarantee, and you will have to make a down payment. This is usually about 10%.
Step 7: Construction starts
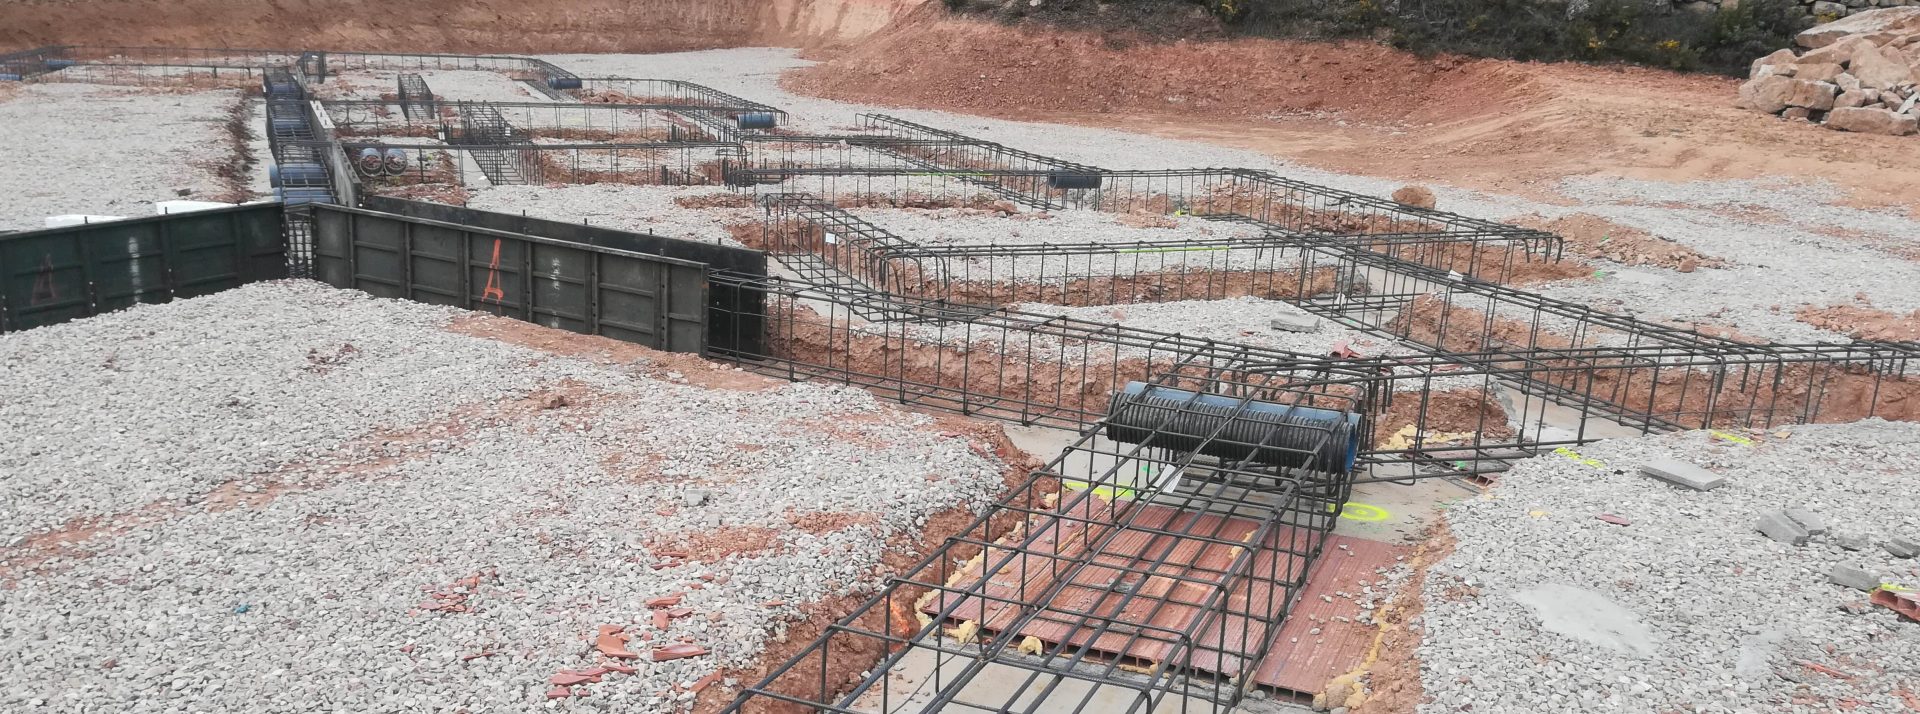
From the first to the last day of construction, the build will be supervised by a team called the Dirección Facultativa. This team consists of the architect and the quantity surveyor (arquitecto técnico) who are responsible for supervising the correct execution of the design and the contract. How often this team visits the site and meets with the contractor again depends on who you hired. In cases where only a few necessary visits are included, you will find you have to step up yourself. Supervision during the works is of the utmost importance if you care about quality. This means that you will need to hire an architect who is hands on and visits the site regularly.
At ZEST architecture our supervision and control of the execution are known to be top level. Our architects have intricate knowledge of all the construction methods and details. They inspect exactly how the contractor executes the build. And they update our clients on the progress with regular progress reports, including photos.

Step 8: Move in to your completed house
When the contractor delivers your finished house, there will be a handover. During the inspection visit, the architect makes a list of any items that are not right. The contractor will fix those for you before you move in. When all is perfect, the architect and arquitecto técnico will prepare the final completion certificate. You need this so-called “Certificado Final de Obra” to connect to water and electricity mains. You also need a so-called Cédula de Habitabilidad. Your architect will prepare this for you.
If you want to learn more about how we work and what building a house in Spain entails, download our guide!

